Fern & Frond guides · Care
How to repot a house plant
Most house plants need a bigger pot every year or two. Repotting takes ten minutes, and done in spring it gives a plant the best start to its growing season. Here is how we do it in the shop.
When to repot
Look underneath first. Roots poking out of the drainage holes, or circling round and round the bottom of the pot, are the clearest sign that a plant has run out of room.
Other clues are water that runs straight through without soaking in, compost that dries out within a day or two, and a plant that has stopped putting out new leaves in spring and summer.
The best time is early spring, as the days lengthen and the plant starts to grow again. Avoid repotting in winter or while a plant is flowering, unless it is clearly struggling.
Choosing the new pot
Go up one size only. A pot that is far too big holds water the roots cannot reach yet, and wet compost is the most common way house plants die.
Terracotta dries out quickly and suits cacti, succulents and anything that hates wet feet. Glazed and plastic pots stay damp for longer, which ferns and calatheas prefer. Whatever you choose needs a hole in the bottom. If you love a pot without one, use it as an outer cover and keep the plant in a plastic pot inside it.
What you need
- A pot 2 to 5 cm wider than the old one, with drainage holes
- Fresh house plant compost
- A trowel, or an old spoon for small pots
- A watering can, and newspaper for the mess
- Gloves, if your plant has sap that irritates skin
Repot in three steps
-
Step 1
Ease the plant out
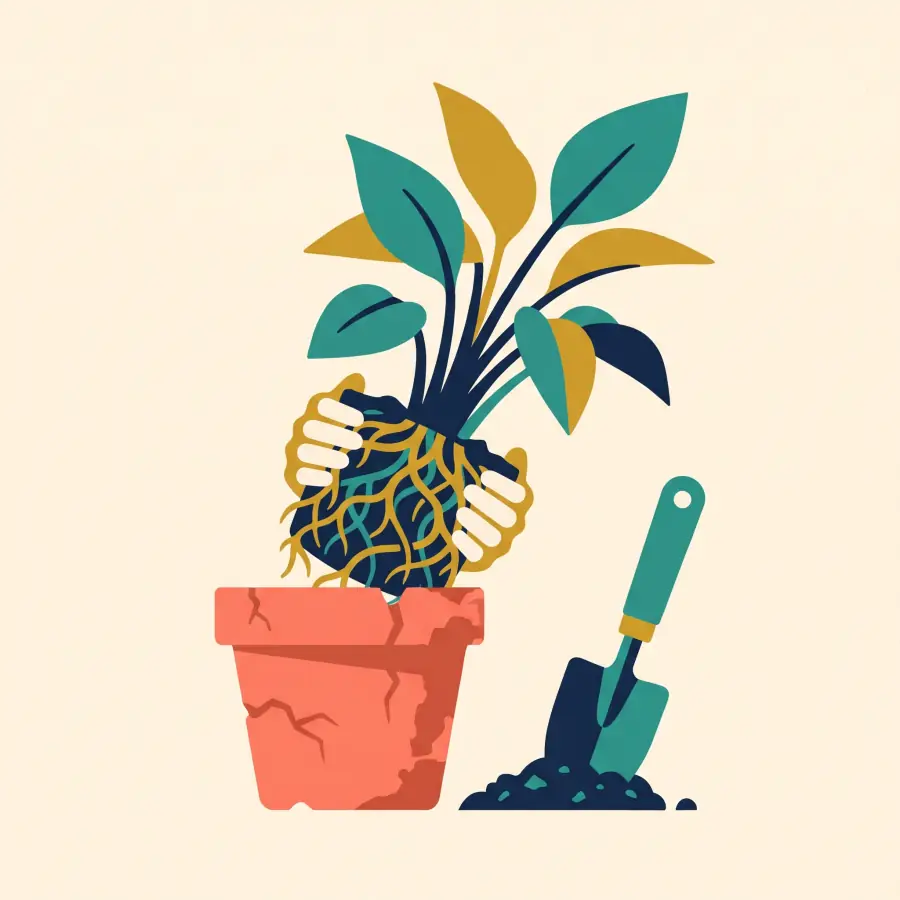
Water the plant an hour before, so the root ball holds together. Turn the pot on its side, support the base of the stems between your fingers and squeeze or tap the pot until the plant slides out. Never pull it by the stems.
Tease out the outer roots gently, especially any circling the bottom, and trim away any that are brown and soft. Healthy roots are pale and firm.
-

Step 2
Get the new pot ready
Put a layer of fresh compost in the bottom of the new pot. Stand the plant on it to check the height: the top of the root ball should sit about 2 cm below the rim, so water has room to soak in.
-

Step 3
Settle it in and water
Fill round the sides with compost, firming it lightly with your fingers as you go. Do not press hard: roots need air as well as water. Then water well and let the pot drain.
Aftercare
Keep the plant out of strong direct sun for a week while the roots settle. It may droop a little for a day or two; that is normal.
Hold off feeding for four to six weeks. Fresh compost has all the food a plant needs at first, and new roots are easily scorched by fertiliser.
After that, water as usual, when the top few centimeters of compost feel dry. A bigger pot holds more water, so you may find you water a little less often than before.
Or bring it to us. Buy a pot in the shop and we repot your plant while you wait, free.
Shop pots and compost